
Original: tmux for Local Development: A Deep Dive by Jeff Cole, published on Delicious Brains in May 2016. Note: The original site was later redesigned (images replaced with static PNG remakes), and the 2016 original GIFs are no longer available online. Therefore, the images in this post are reproduced by re-running each command and configuration from the original article step-by-step in tmux 3.4 on a local machine. The visual content corresponds exactly to the original (with individual differences noted in the text). The reproduction script is located in the repo at
tools/gen_tmux_teardown_figs.pyand can be re-run at will.
Why I’m breaking this down
This tutorial’s special feature isn’t the text itself (the text is just a standard tmux introduction), but rather the fact that each concept is accompanied by a GIF or screenshot, and the terminal environment in those images hides quite a bit of its own: a customized status bar, Powerline fonts, a key-visualization overlay… Many people finish reading thinking “tmux is awesome” without knowing how those visuals were produced.
Below, I’ll break down all 14 images in the order of the original article. First, spend thirty seconds memorizing four terms so you won’t be lost when looking at the images later:
- server: tmux’s background service. It keeps running even after you close all terminal windows; all sessions live on it.
- session: A set of working states on the server, e.g., a session for “writing a blog” or “running a service.”
- window: A full-screen page within a session, similar to a browser tab.
- pane: A subdivided area within a window. A single window can contain multiple panes, each running its own shell.
The hierarchy is server → session → window → pane, each layer nested inside the previous one.
Part 1: Concept Demo Images (Figures 01–06)
Figure 01: tmux new -s base — Creating a New Session
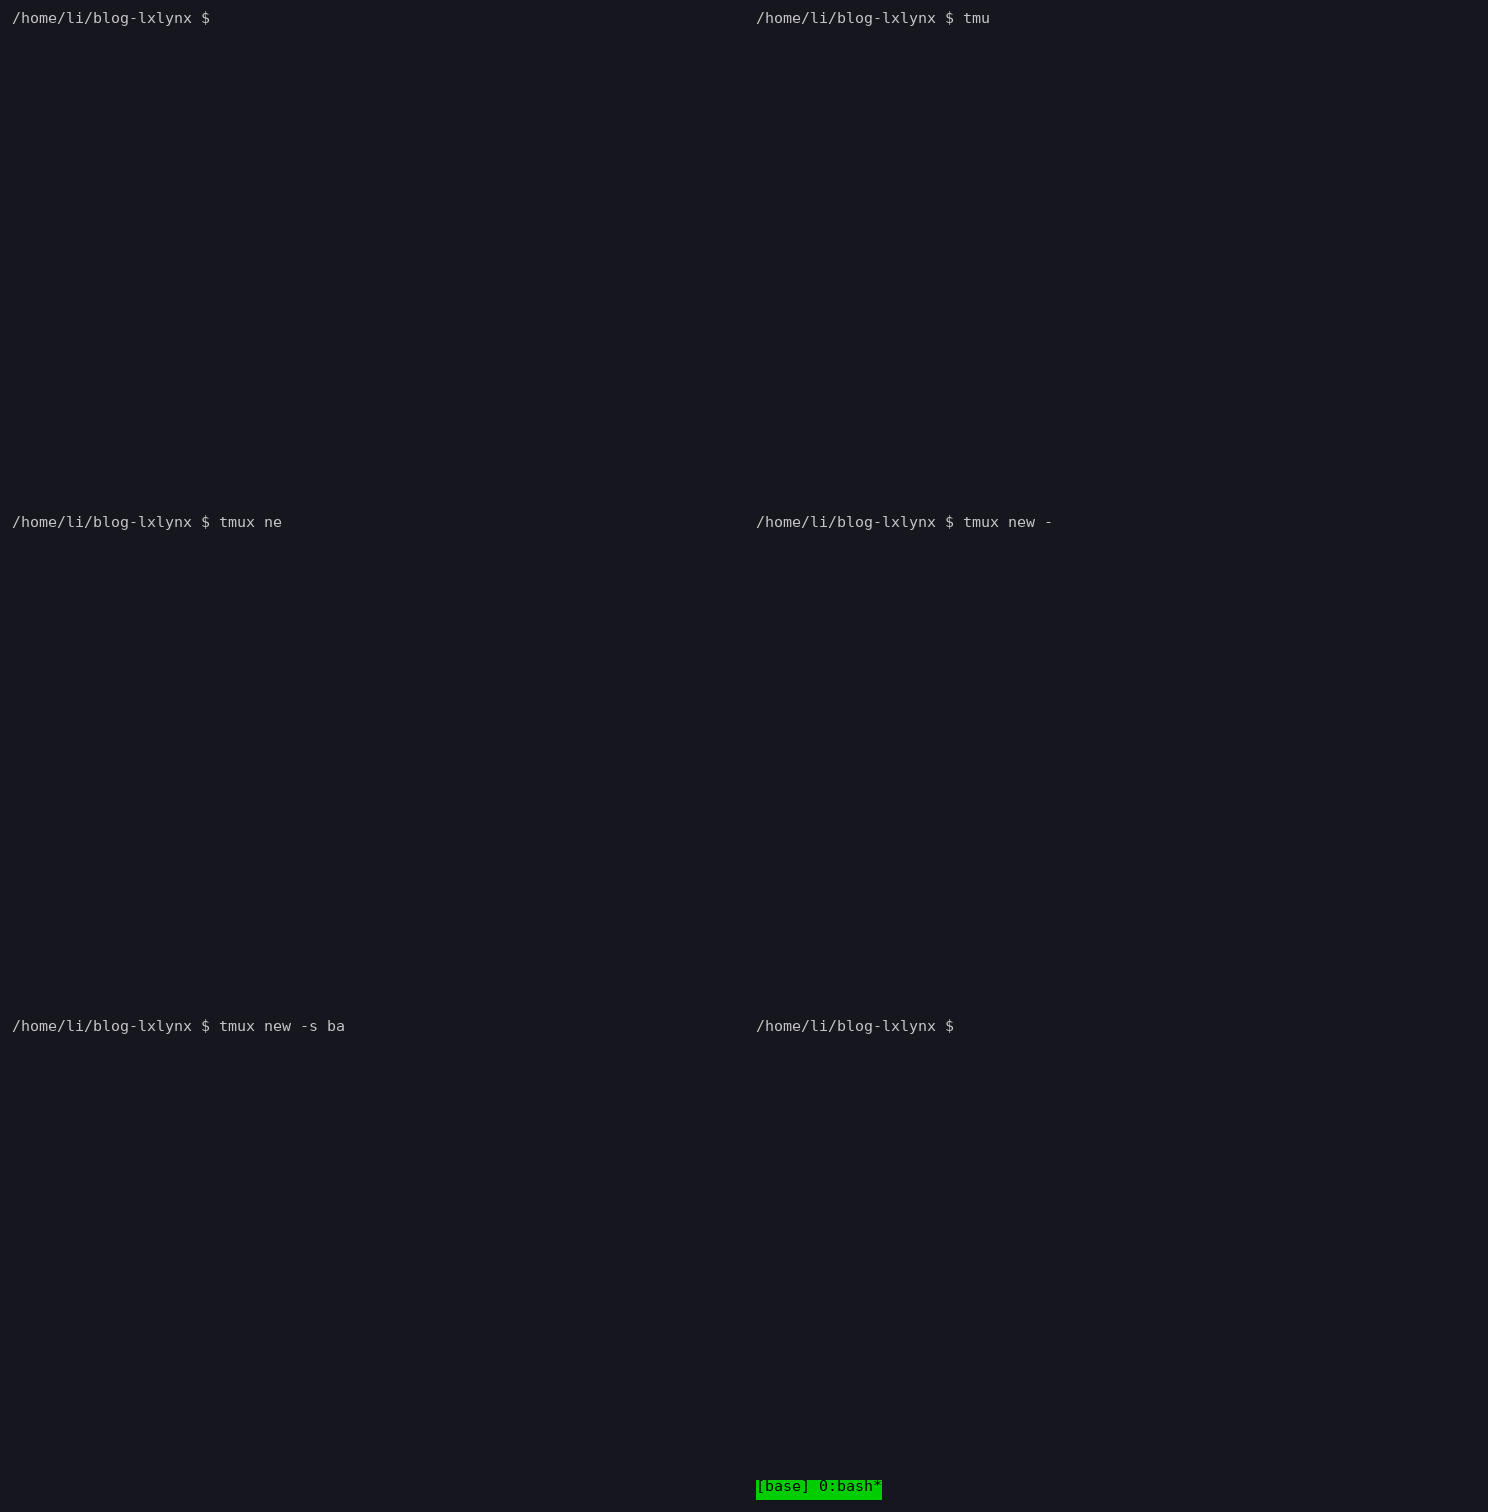
The GIF demonstrates tmux’s command structure: tmux <subcommand> <argument>. After pressing Enter on tmux new -s base, a status bar appears at the bottom of the terminal—this is the sign that “you are now inside a tmux session.” The left side [base] 0:bash* indicates the session name, window number, and the program running in the window (the reproduction environment uses bash; the original author used zsh, so the original image shows [0] 0:zsh), while the right side shows the hostname and time.
Two easily missed details:
- The status bar in the original image is not tmux’s default green background style, but a custom theme with a deep blue session segment and arrow separators—by the time the author recorded the screen, they had already applied their own config. The customization method is covered in the latter half of the original article (we’ll cover Figures 07–14 here; the reproduction Figure 01 uses the default green background so you can first understand “what the default looks like”).
- The two color blocks in the original image’s command prompt (
~and the time on the right) are thanks to a zsh theme (like agnoster, powerlevel10k, etc.), unrelated to tmux. Don’t confuse them.
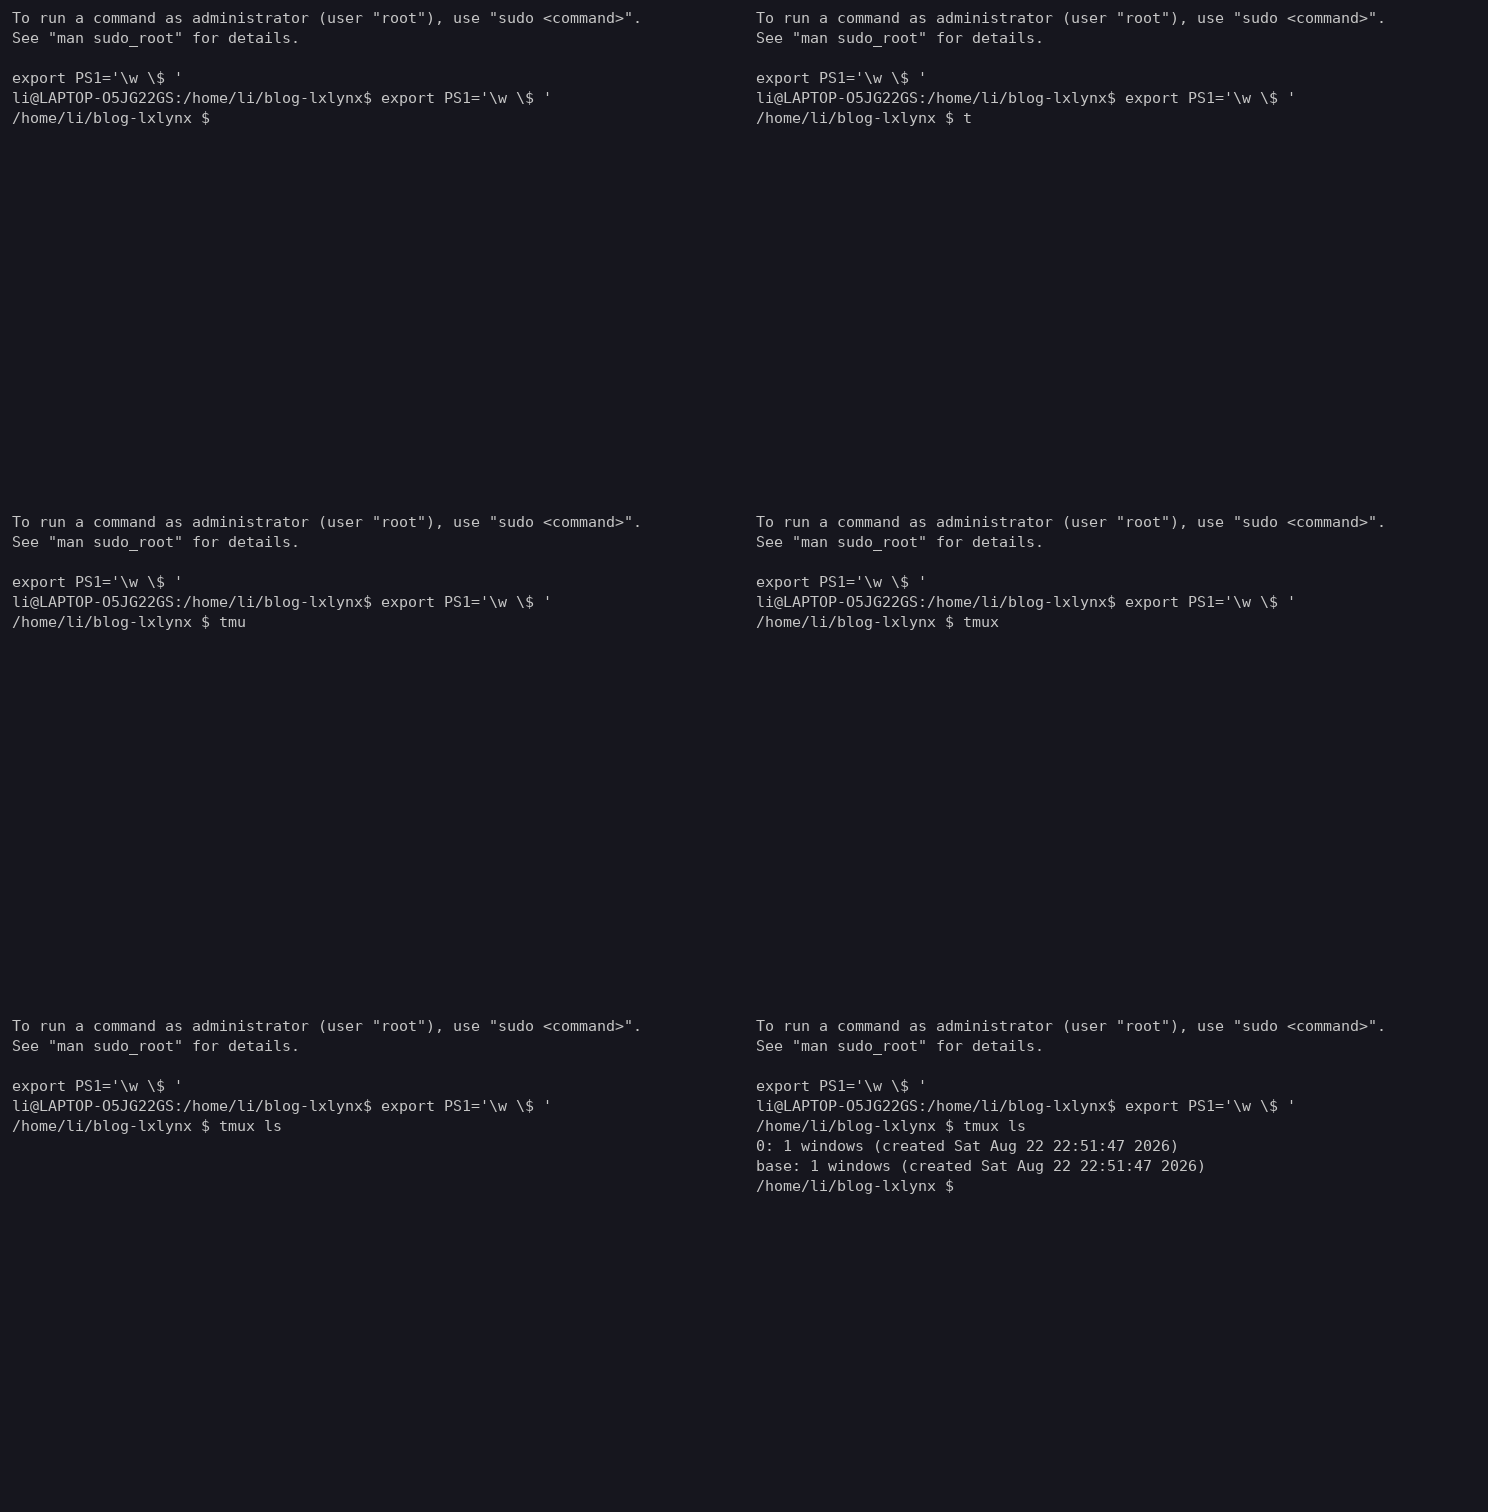
Figure 02: tmux ls — Session list, also proof of the client-server architecture
| |
This image has no fancy effects—it’s pure text output. But it demonstrates tmux’s most important architectural fact: sessions live on the server, not in any specific terminal window. Each line’s fields are, in order: session name, window count, creation time, terminal dimensions, and whether it’s currently attached. In the original screenshot, 0 has (attached) after it, meaning a client was connected to it at the time (the author was viewing that session); base does not, meaning it’s detached in the background—a closed terminal won’t kill it. This is the principle behind “your workspace persists after disconnecting.” During reproduction, neither session had a connected client, so there’s no (attached) marker.
Figure 03: tmux switch-client -t base — Switch sessions without changing windows
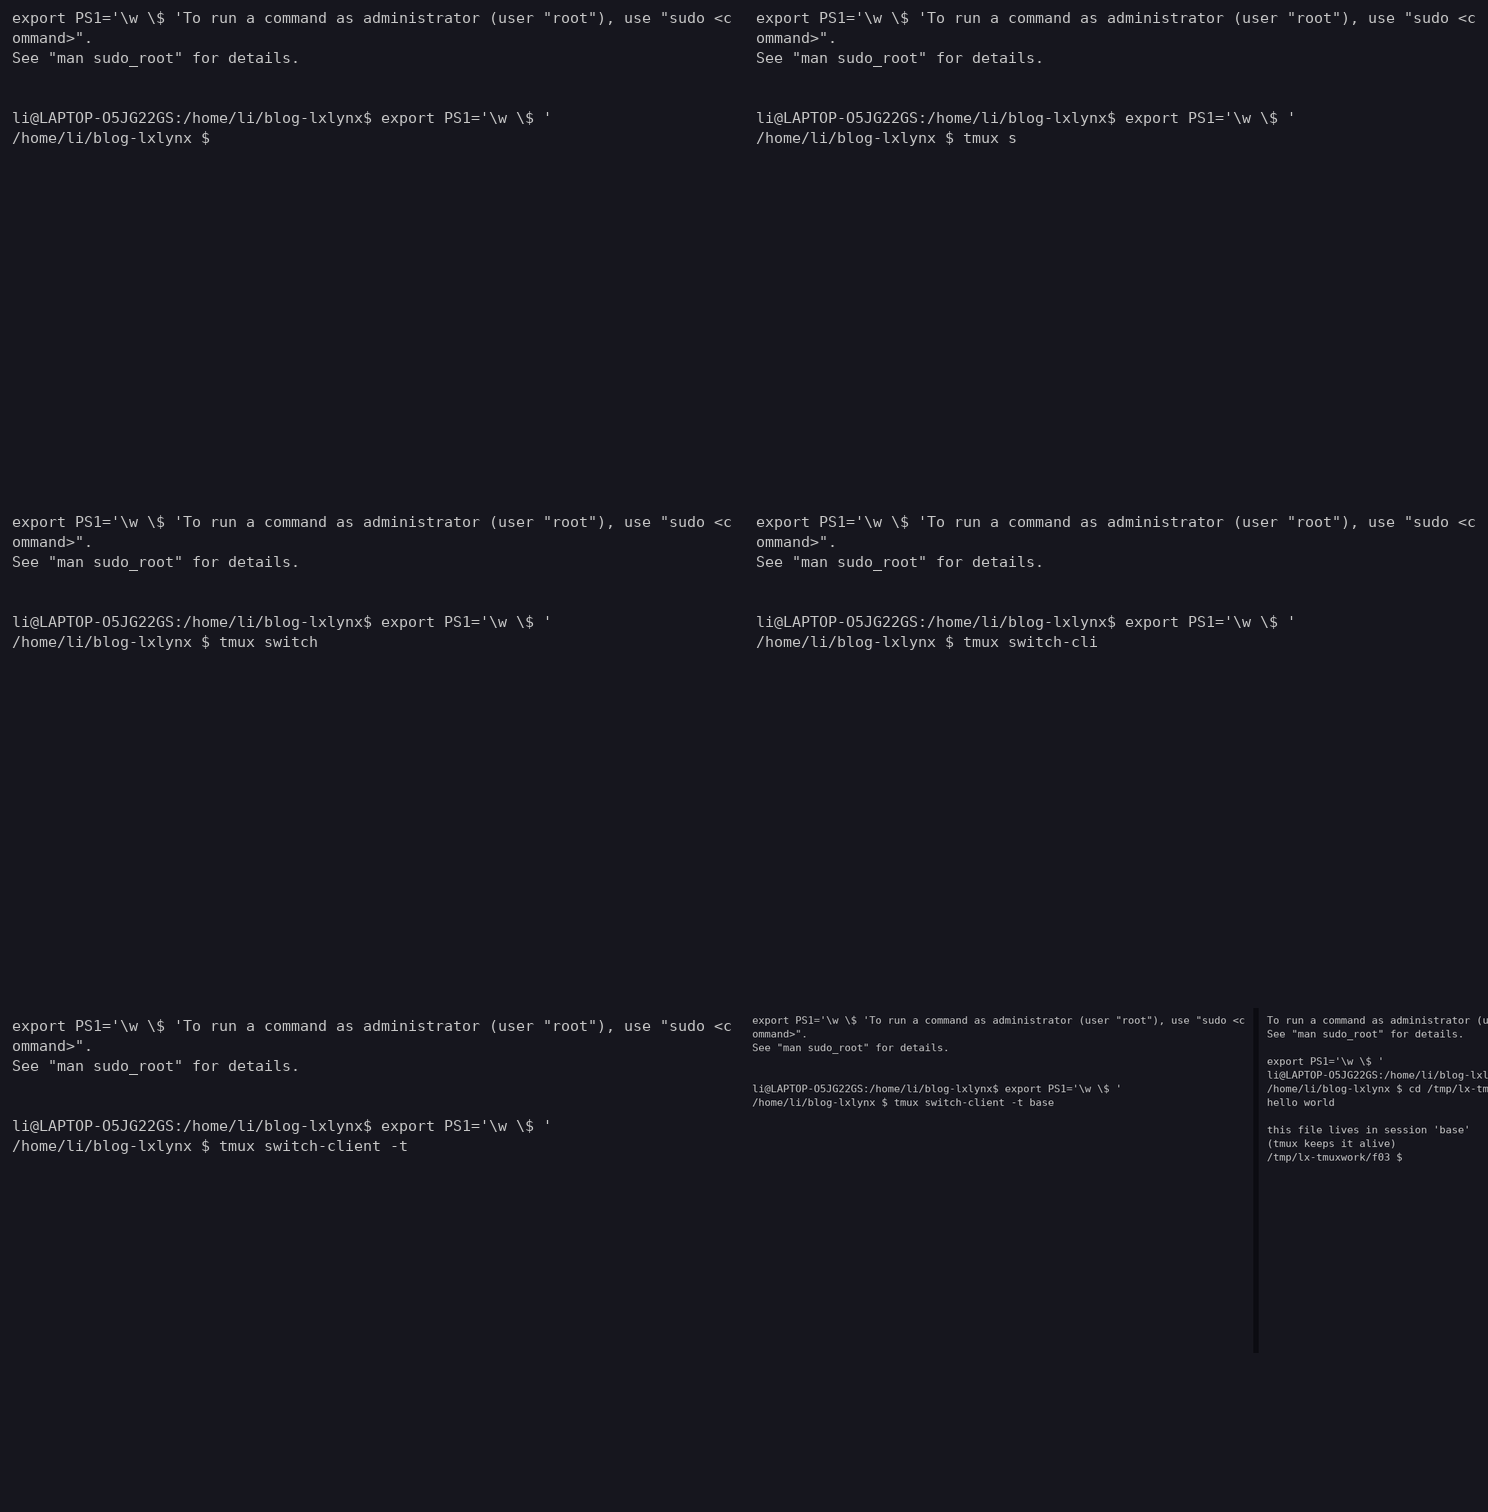
Demonstrates “the client is still connected to the server, but switching to view another session”: after running tmux switch-client -t base (the original writes tmux switch -t base, where switch is an older abbreviation for switch-client), the screen content changes from the command line of session 0 to the file being edited in session base (the original shows a Vim buffer full of “Hello World”; the reproduction uses cat hello.txt as a stand-in). The session segment in the bottom status bar simultaneously changes from [0] to [base]—the first segment on the left of the status bar always displays the current session name, which is the fastest way to tell “which session I’m in.”
Similar commands include tmux detach (disconnect without killing the session) and tmux attach -t <name> (reconnect). Between disconnect and reconnect, processes on the server remain completely unaware.
Figure 04: prefix c — Create a new window and read the status bar markers
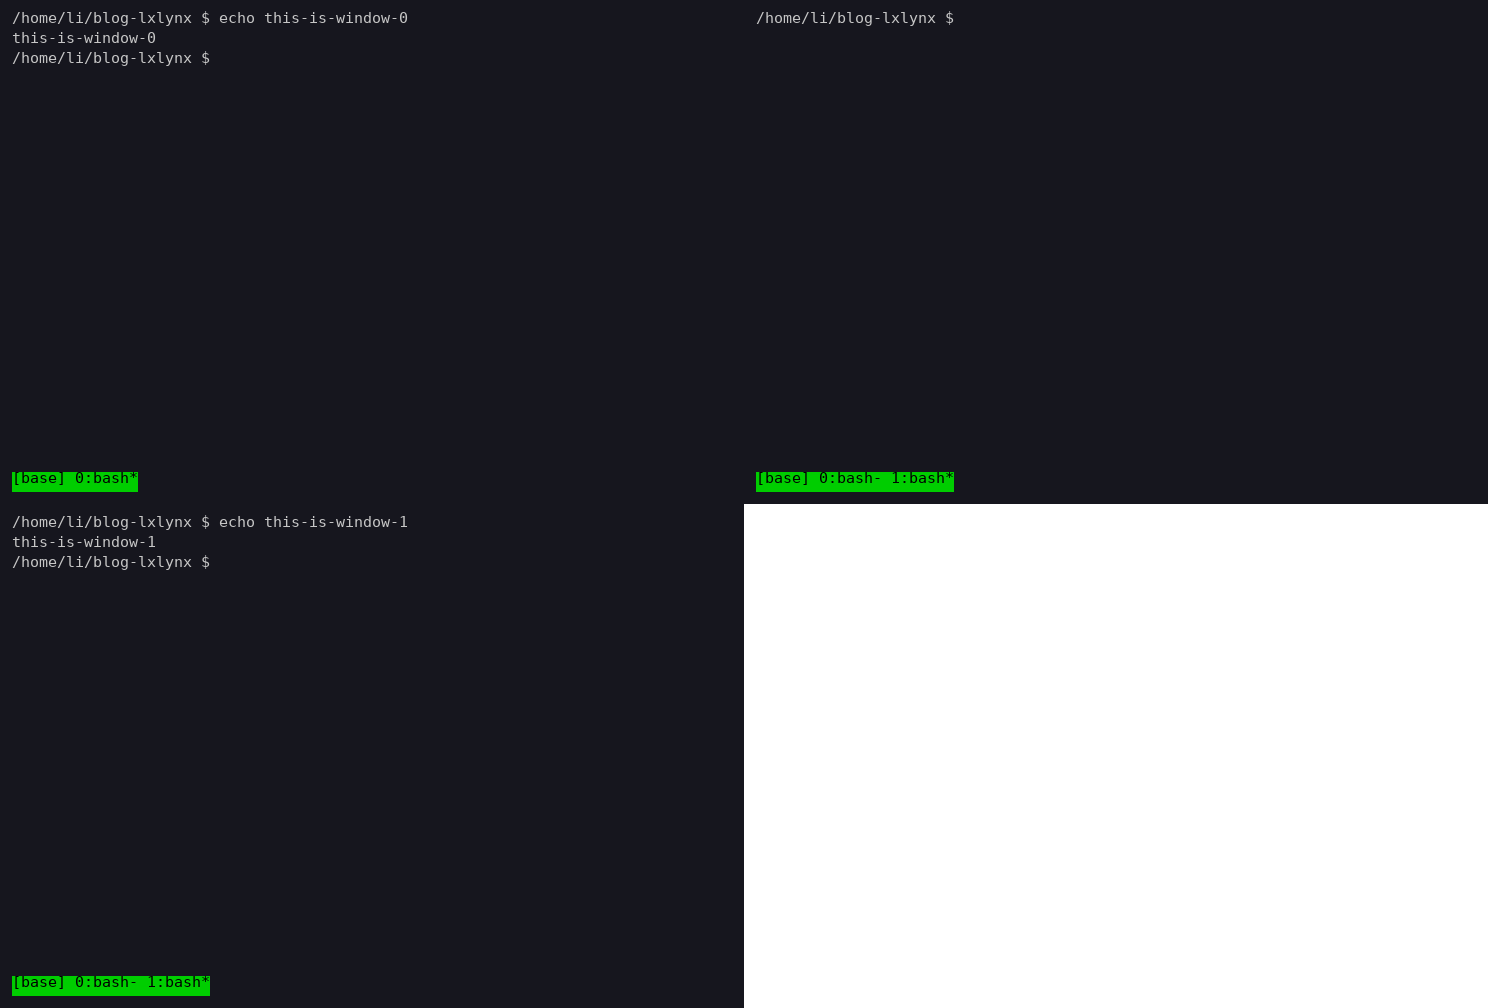
Press Ctrl-b then c (Ctrl-b is the default prefix key; we’ll cover how to change it later in Figure 08). The window list in the status bar grows from one entry to two (reproduction environment runs bash, original runs zsh):
| |
Window names default to the program currently running in the pane (so all reproduction images say bash, all original images say zsh). Note two small symbols:
*marks the current window (here, window 1)-marks the previous window (window 0)—you can toggle between them quickly withprefix l
Additionally, #, !, ~, and Z are other status bar markers corresponding to active notifications, beeps, silence, and pane zoom, respectively. This guide doesn’t cover those.
Figure 05: prefix % — Split the screen
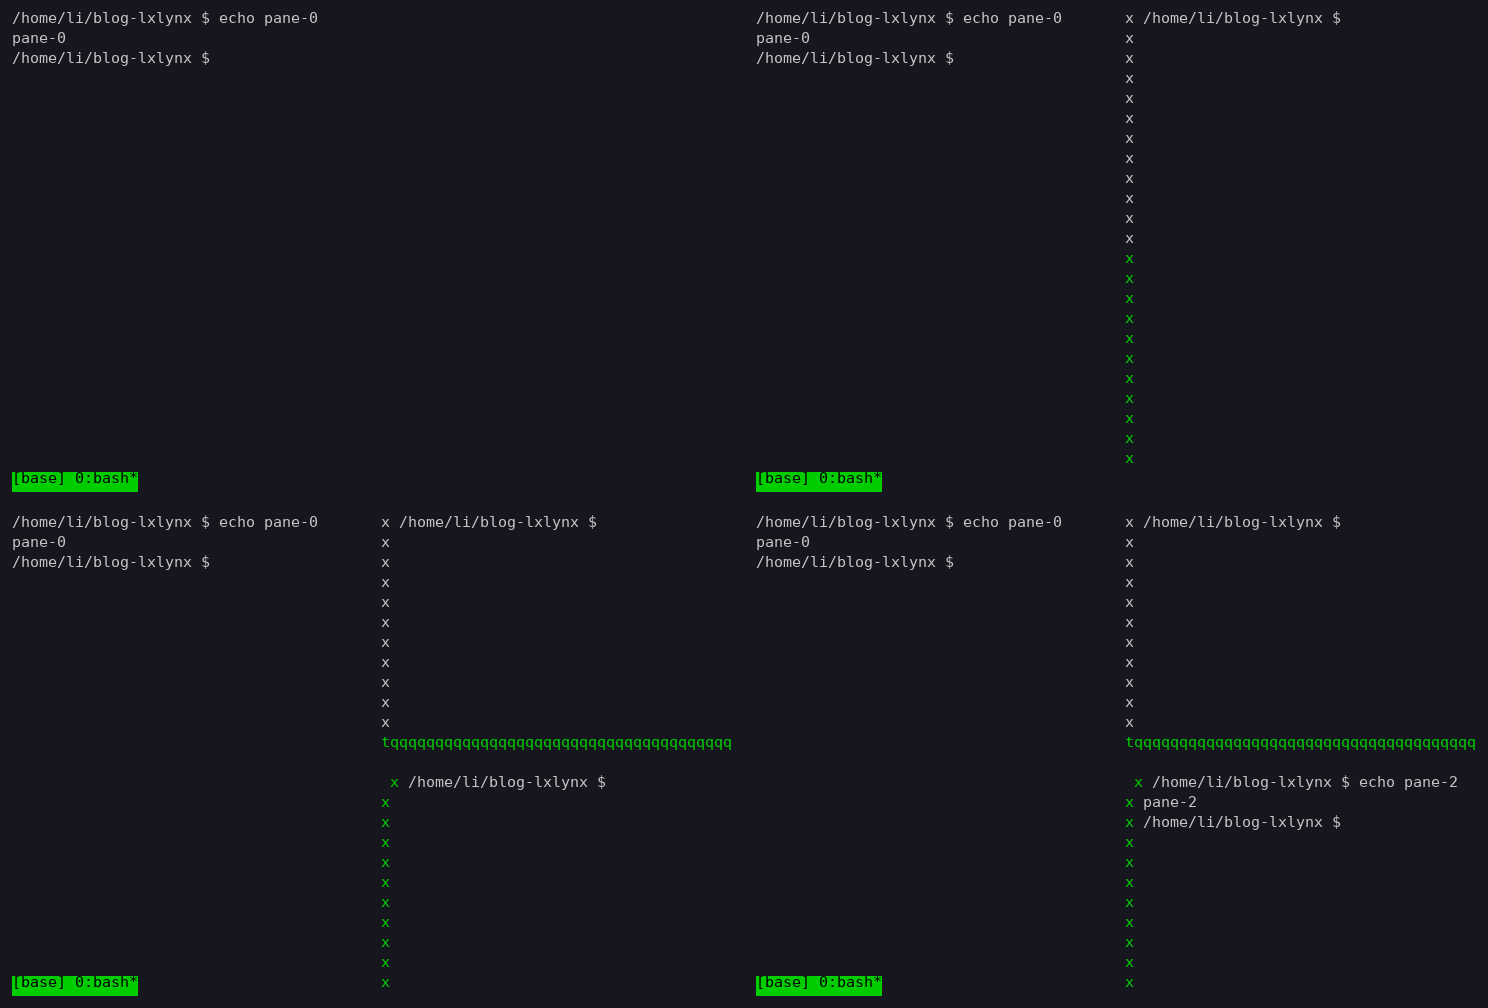
The GIF demonstrates splitting the current window into three panes: default prefix % splits left/right (vertical dividing line), prefix " splits top/bottom (horizontal dividing line). After splitting, each pane is an independent shell, running its own commands without interfering with each other; the bottom status bar doesn’t change because panes are internal to the window, and the window is still #0.
A counterintuitive naming pitfall: tmux’s -h (horizontal) parameter splits into left and right panes, while -v (vertical) splits into top and bottom panes—the official logic is “the divider line itself is horizontal/vertical.” If you can’t remember it, don’t worry; Figure 09 will explain how to bypass it with symbol keys.
Figure 06: Two terminals sharing the same session
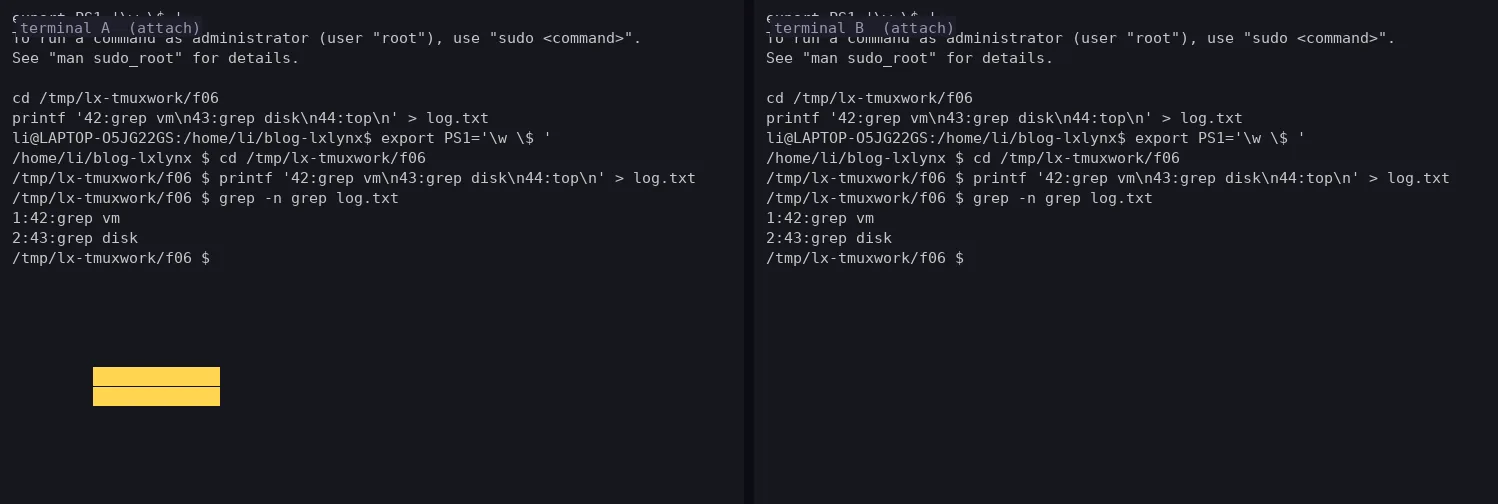
The original shows two separate iTerm2 windows both attached to the same session—in the front window, searching for “grep” using iTerm’s built-in search (⌘F) highlights matches in both windows simultaneously, because they’re viewing the same screen. The reproduction places two copies of the same session screen side-by-side (labeled terminal A/B), with the overlaid yellow block on the left illustrating iTerm’s search highlighting.
There’s no magic to the implementation: on the same machine, same user, running tmux attach -t <session-name> in the second terminal connects to the exact same server socket, so the display mirrors in real time. For cross-machine use, run tmux on a remote server and SSH into it from both sides to attach to the same session—this is exactly how remote pair programming or pulling a colleague into a terminal to troubleshoot works.
Part 2: Customization Result Images (Figures 07–14)
From here on, we’re in the original article’s “Customizing tmux” section. All effects are written in ~/.tmux.conf (this file doesn’t exist by default, so create it yourself).
Figure 07: Powerline-style status bar
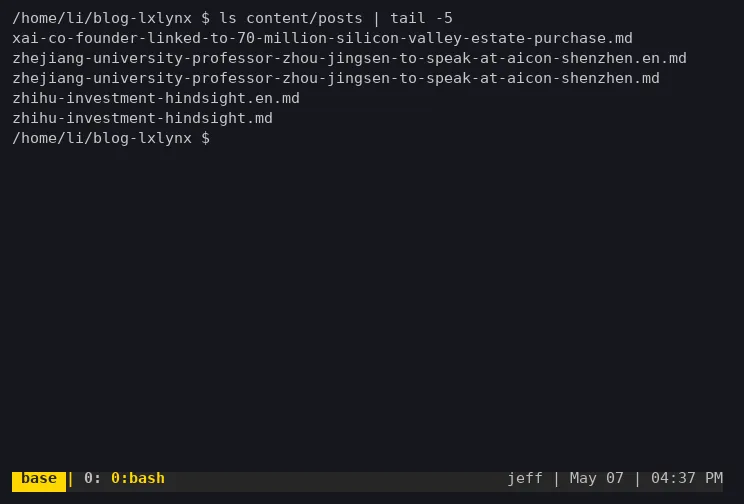
The cover image for the original’s customization chapter: a yellow base session segment on the left, a gray window list in the middle, and the username, date, and time依次 on the right, with arrow symbols connecting each segment. The reproduction fully replicates the segmentation and color scheme, except without the patched font installed—the arrows degrade into plain vertical pipe separators. Two things are needed to achieve this effect:
① A patched Powerline font. Those arrows (, , etc.) aren’t standard characters; they’re Unicode private-area glyphs (U+E0B0, etc.). Regular fonts don’t contain them, so terminals will display boxes instead. The original used the patched Meslo font from the powerline/fonts project. After installing it, you must also switch your terminal emulator’s font setting to it.
② Status bar segment configuration. Two approaches:
- The easy route: Install a plugin like tmux-powerline, which comes with built-in segments and arrows.
- The hand-coded route:拼 directly with
status-left/status-right, using#[fg=…,bg=…]to control each segment’s colors. For example:
| |
Here, #S is the session name, #I is the window number, #W is the window name, and colour220 etc. are 256-color palette codes. To fully replicate the colors in the image, you’d need to adjust these codes segment by segment.
Figure 08: Remap the prefix key from C-b to C-a
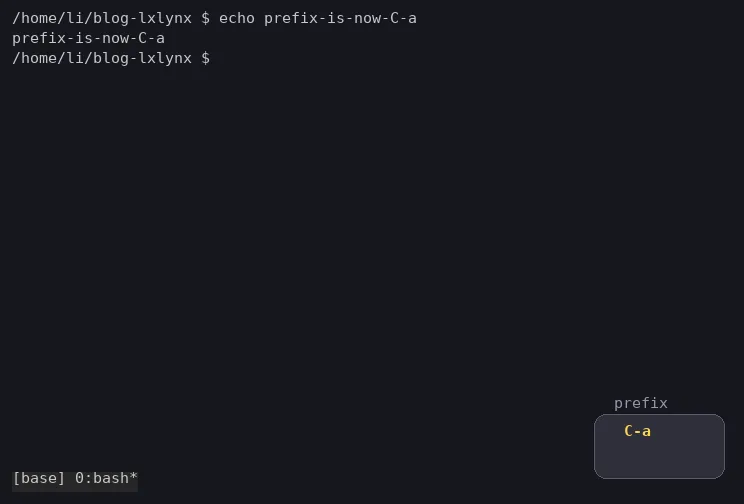
The ^a overlay in the image is not a tmux feature—it’s a key-visualization tool from the screen recorder (software like KeyCastr on macOS), used to tell the viewer “I just pressed Ctrl-a” (the reproduction image overlays an equivalent badge in the bottom right). The real change happens in the config:
| |
The third line is easily overlooked but crucial: in shells, Ctrl-a originally means “jump to line start.” When nesting tmux (SSH from a local tmux to a remote tmux), you also need to pass the prefix through to the inner layer. bind C-a send-prefix solves exactly this.
Fig 09: Splitting panes with | and -
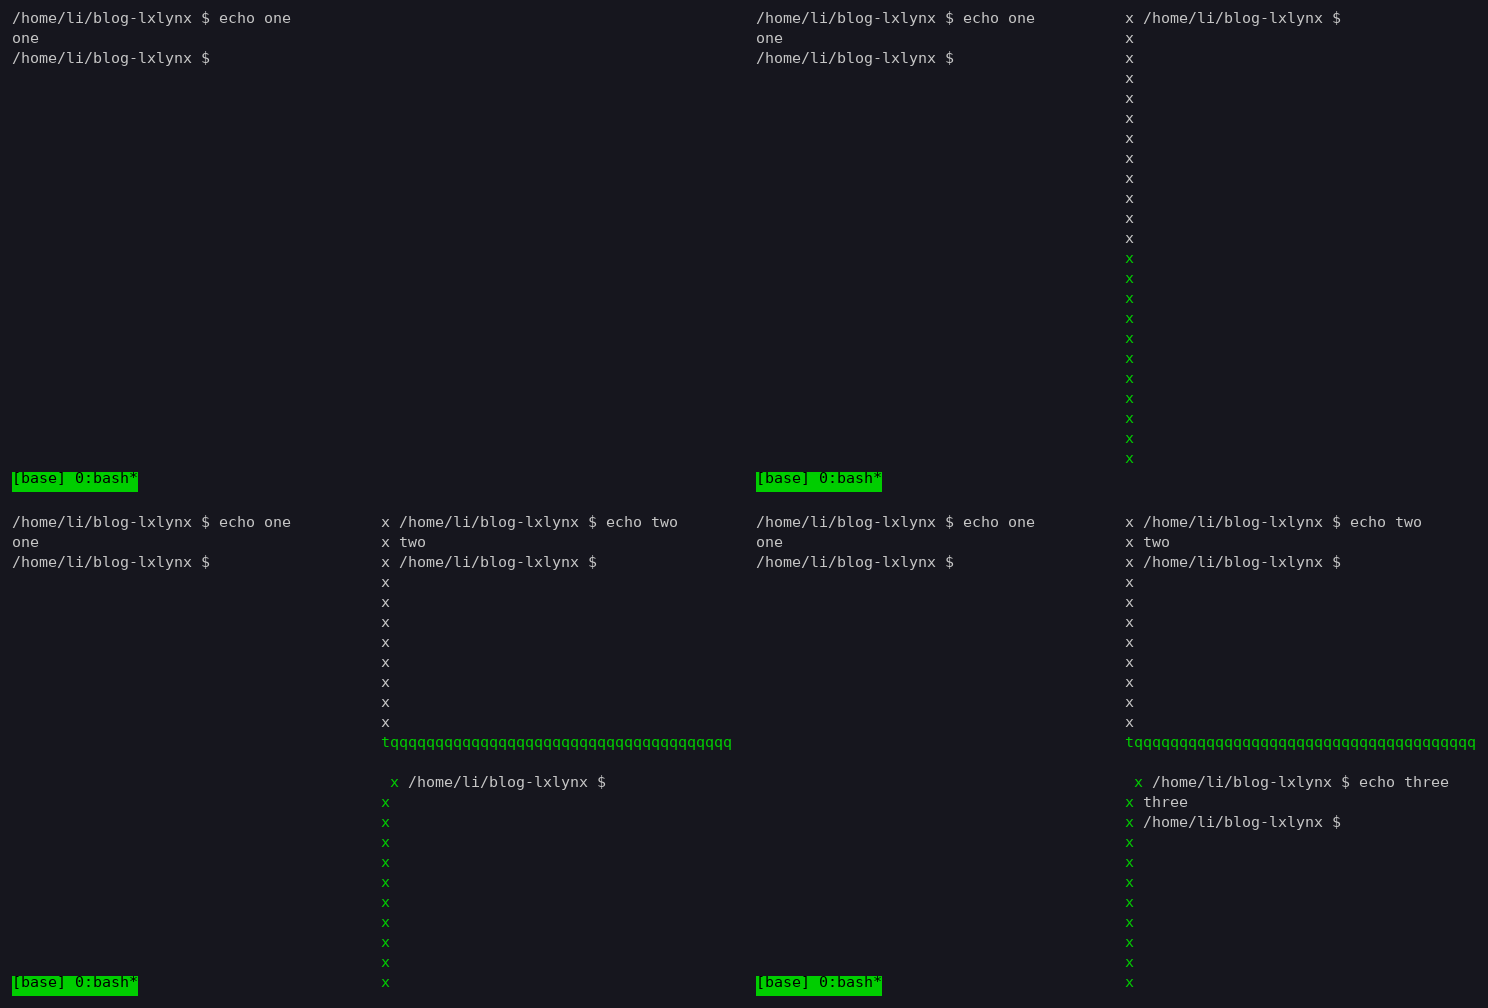
Figure 05 mentioned that the -h/-v naming is unintuitive. The fix is to bind the split key directly to symbols shaped like the divider lines:
| |
Mnemonic logic: | looks like a vertical divider, splitting into left and right panes; - looks like a horizontal line, splitting into top and bottom panes. No more memorizing whether it’s -h or -v.
Fig 10: Coloring the border of the active pane
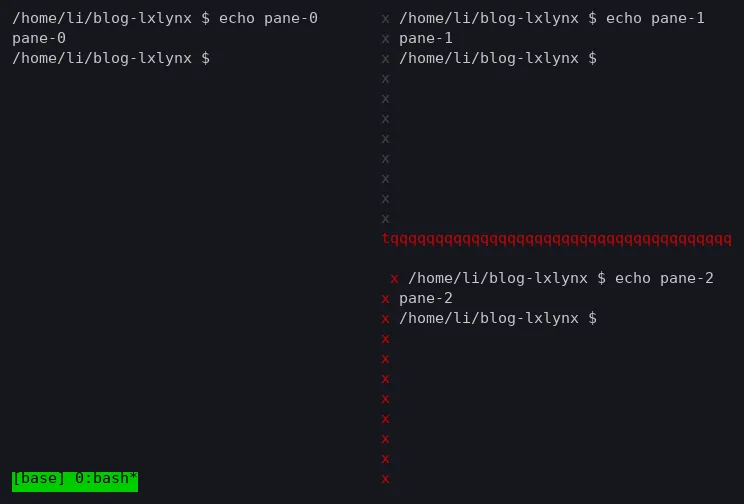
Among the three panes, the one with the cursor has a red border while the others are dark gray. One-line config:
| |
Note that the original article was written in 2016 and the linked page shows the old syntax like pane-active-border-fg red. tmux 2.9 (released in 2019) consolidated the many scattered -fg / -bg / -attr options into -style key=value pairs. Use the new -style syntax in your config; the old form will error out on newer versions.
Fig 11: Highlighting the active pane, dimming the rest
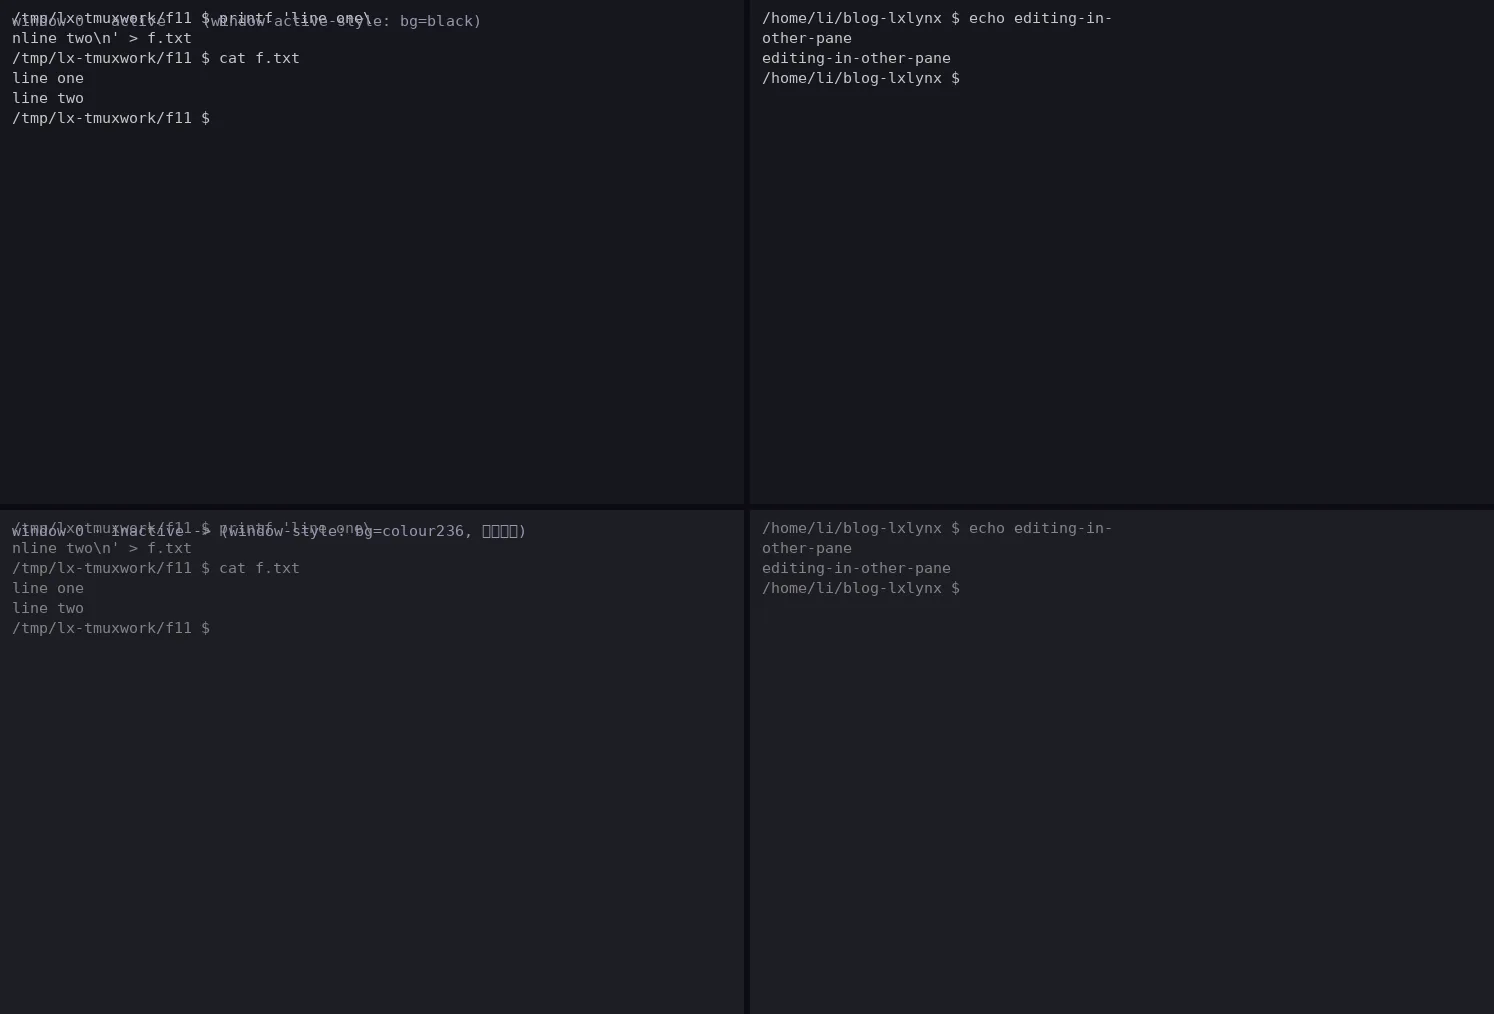
Effect: the pane with the cursor on the left is pure black background with bright white text; the pane on the right is overall grayed out, so you can tell at a glance which one has focus (Vim was running in the right pane in the original—its own dark theme layered with the dimming effect made it look even grayer). The reproduction image shows the two states in top/bottom rows: the top is the active style, the bottom is the dimmed unfocused state (the capture tool can’t grab the rendered dimming, so the reproduction image uses a gray overlay to indicate it). Config:
| |
Two trivia points: ① window-style toggles based on “whether the window has focus”—once the window loses focus, all panes inside it turn gray together, not individually per pane; ② setw is shorthand for set-window-option, used for window-level options; for global options, use set -g.
Fig 12: Resizing panes with H/J/K/L
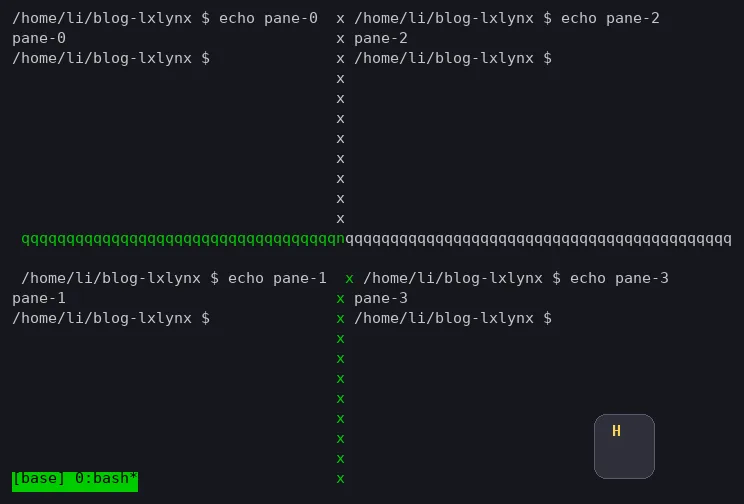
A 2×2 grid layout, with a floating overlay showing the H key just pressed (also from the screen-recorder’s key-visualizer). Borrowing the Vim directional-movement muscle memory:
| |
A step of 5 panes at a time is much faster than the default of 1. Add -r to allow autorepeat (e.g., bind -r H resize-pane -L 5), then hold the prefix key and press H repeatedly to keep resizing.
Fig 13: prefix r to hot-reload config
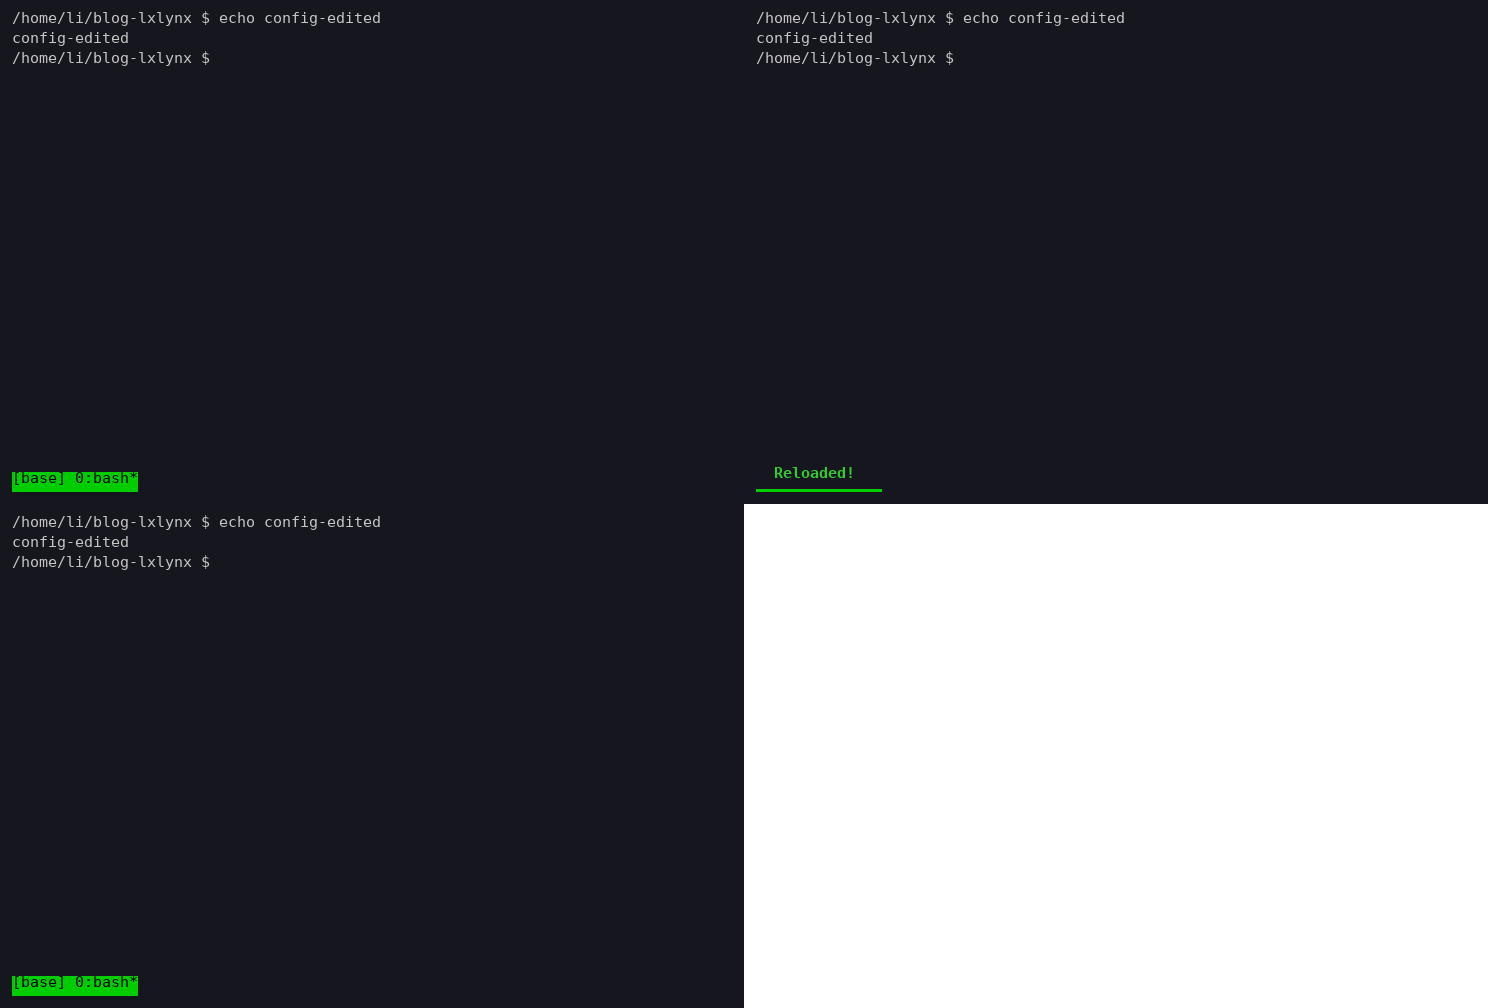
No need to kill and restart a session when you change config—bind a hotkey:
| |
The green “Reloaded!” that appears in the status-bar area in the figure is the output of display-message—tmux temporarily renders such messages in the status-bar area and they auto-fade after a few seconds (the reproduction image was generated in an environment with no client connected, so it shows the same green message bar). \; is the command separator in tmux config, letting a single keypress run two commands in sequence.
Fig 14: TPM plugin manager
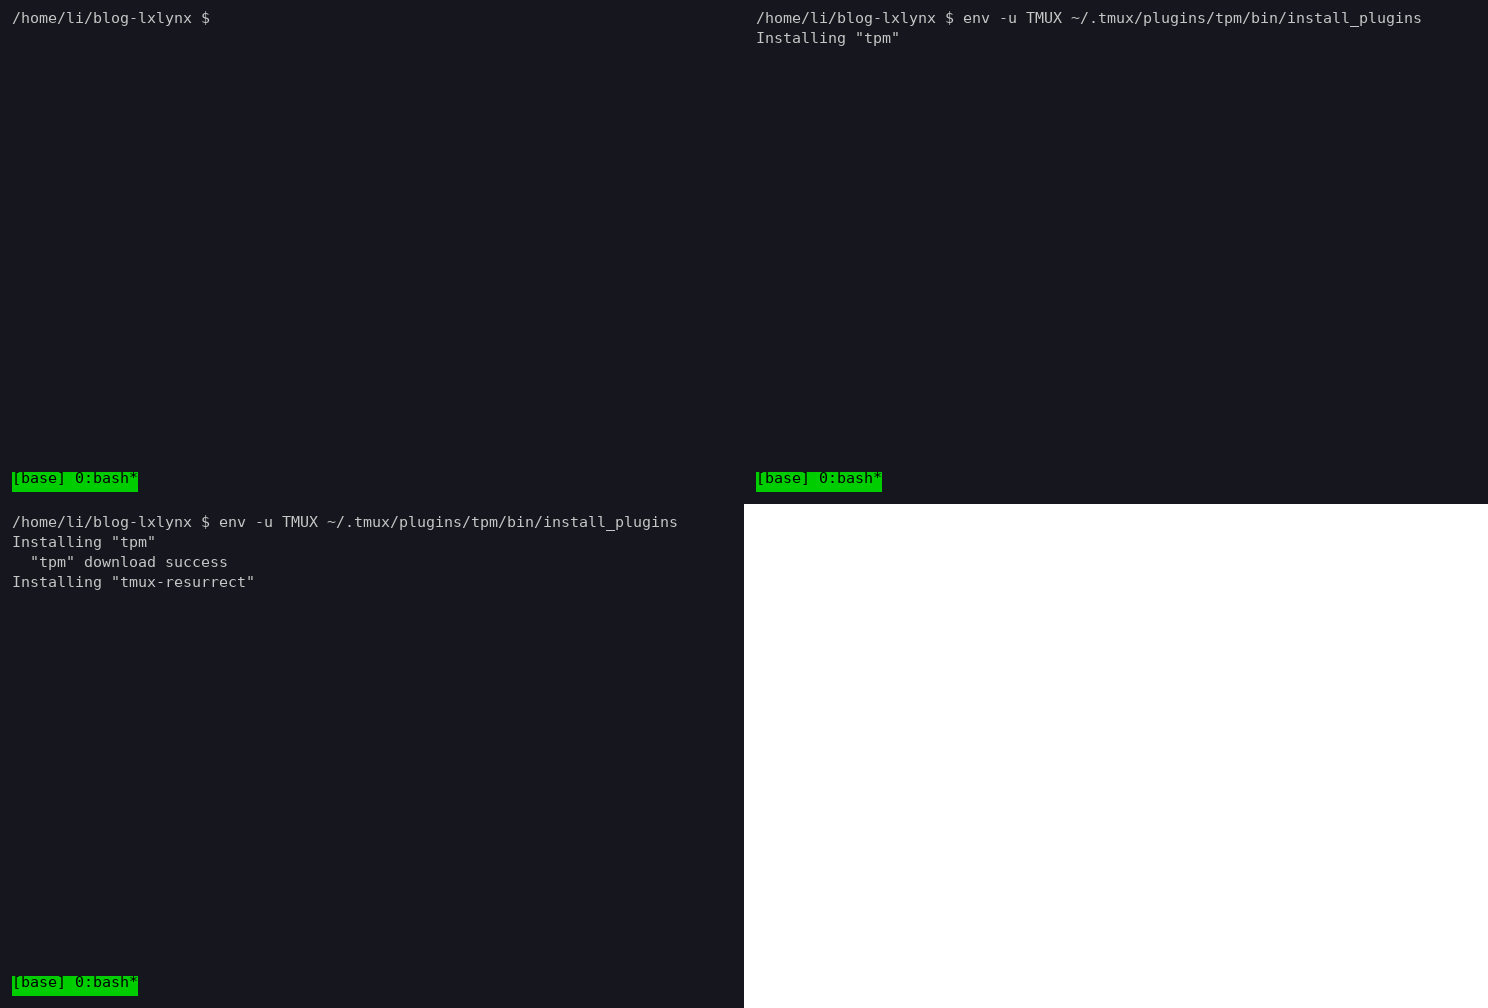
The final gif demonstrates installing plugins with TPM (Tmux Plugin Manager): declare plugins in config and press prefix I (uppercase i) to install. The reproduction image shows the raw output of TPM’s install script (Installing "tpm" → "tpm" download success → Installing "tmux-resurrect"); in the original article, the plugins were already installed, so it showed yellow text like Already installed 'resurrect' and TMUX environment reloaded—both are TPM’s own install UI.
| |
You need to clone TPM manually once: git clone https://github.com/tmux-plugins/tpm ~/.tmux/plugins/tpm, then prefix I to install, prefix U to update, and prefix Alt-u to remove.
Part 3: Considerations for Copying in 2026
The original article was written in the tmux 2.x era. The syntax is still largely usable, but one class of systematic change deserves attention: since tmux 2.9 (2019), all scattered -fg / -bg / -attr options have been consolidated into -style key=value form. Comparison:
| Old syntax (original era) | Current syntax (2.9+) |
|---|---|
pane-active-border-fg red | pane-active-border-style fg=red |
status-bg green | status-style bg=green |
window-status-current-bg white | window-status-current-style bg=white |
message-fg black | message-style fg=black |
Taking all the customizations above and converting them to the current syntax gives you a ready-to-copy .tmux.conf:
| |
After writing, press prefix r to hot-reload and the changes take effect (TPM requires an initial manual git clone; see the previous section).
Conclusion
This 2016 tutorial remains solid tmux material for beginners: concepts (server / session / window / pane) are explained clearly, and the customizations all address high-frequency, real needs. What truly goes out of date are the syntax details and the terminal environment shown in the screenshots themselves—fonts, themes, key visualizers—these are exactly the things that spark curiosity when looking at images but the article may not explicitly address. I hope this figure-by-figure breakdown fills in that gap.
Original link: tmux for Local Development: A Deep Dive
Image attribution: The images in this article are not screenshots from the original. The original site has undergone multiple redesigns, and the 2016 source gifs are no longer available online (nor archived on the Internet Archive), so all 14 images are reproductions generated by re-running the original commands and configurations on my own tmux 3.4. The image order matches the original article exactly; minor differences are noted in the body text. The reproduction script is in the repo
tools/gen_tmux_teardown_figs.pyand can be re-run locally. The tutorial text, approach, and screenshot style belong to the original author Jeff Cole and Delicious Brains.